Installing eLxr with Hyper-V
About This Task
Once you have downloaded the eLxr 12 image file, you can install it with Microsoft Hyper-V as described in this procedure.
For eLxr Server images, you have the option of installing a console-based system, or a desktop environment, such as XFCE.
Before You Begin
You must have an eLxr 12 image. For details, see Downloading the eLxr Image.
You must have Hyper-V enabled in Windows 11 and have administrator access on your Windows host.
You must connect Hyper-V to a server or your local computer to enable VM actions. For example, run Hyper-V as an administrator. In the main window, select Connect to server, then select Local computer and click OK. The list of available actions will now include Quick Create and New.
Creating the Virtual Machine
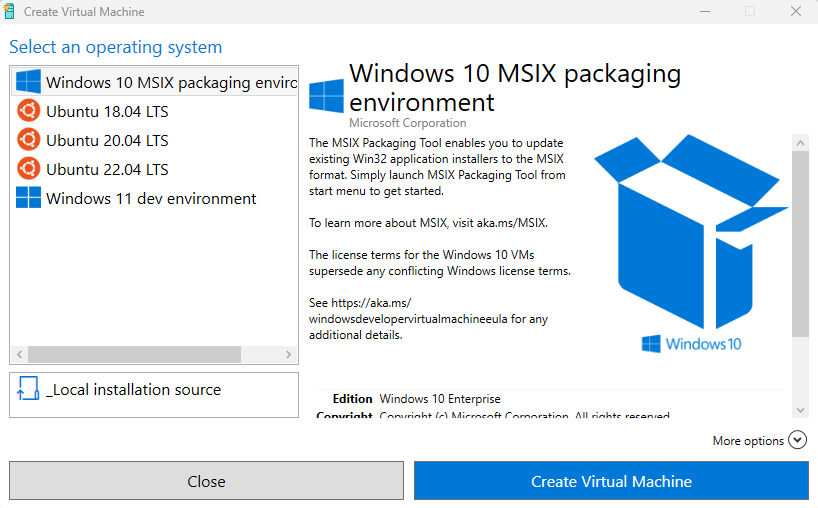
From the Hyper-V interface, select Quick Create to open the Create Virtual Machine window.
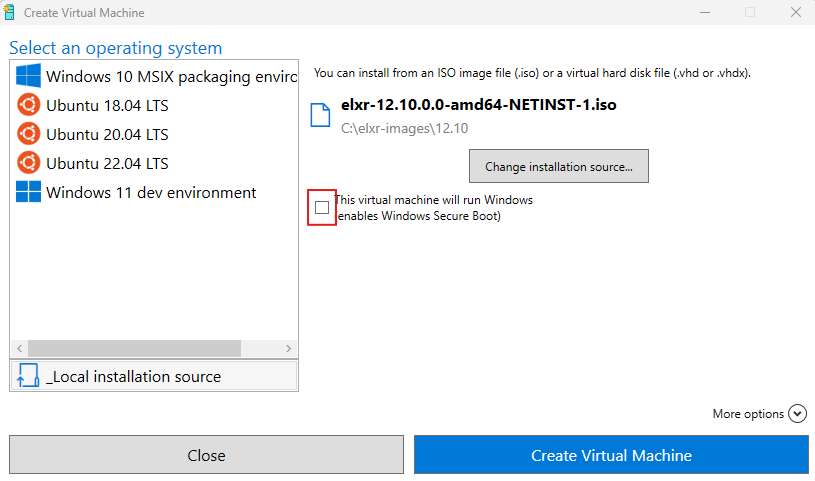
In the Create Virtual Machine window, click Local installation source, then click Change installation source and navigate to the eLxr image you want to use to create the VM. Click Open to select it. The image will display.

Deselect the option to disable Windows Secure Boot.
Expand More options and enter a name for the VM. For network access, ensure that Default Switch, the default, is selected.
Note
If you do not enter a name, it will default to New Virtual Machine in the Virtual Machines list. You can change it in the Settings at any time.
Click Create Virtual Machine. Once the VM is ready, the window will update and Virtual machine created successfully will appear.
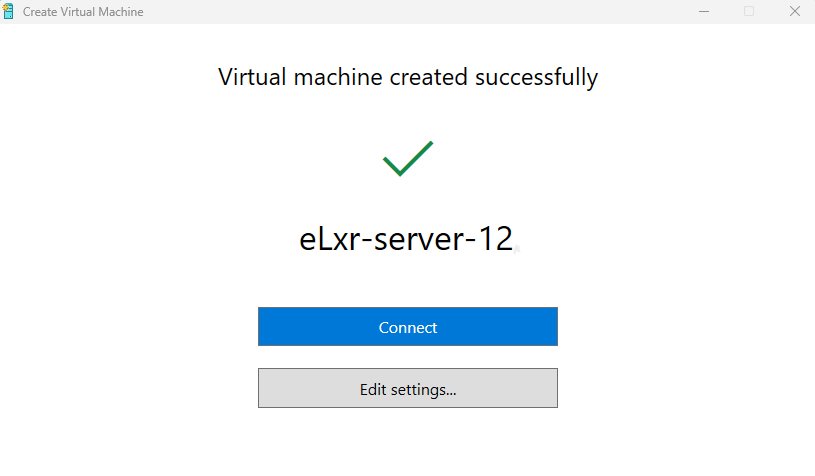
Click Connect to open the eLxr VM Virtual Machine Connection window.
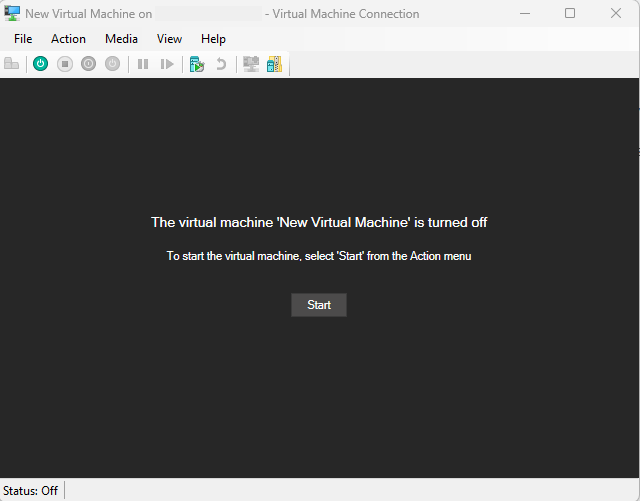
Click Start or Action > Start to launch the VM and begin the installation.
The next section describes the installation steps.
Installing eLxr
With the virtual machine configured, install eLxr as described in this section.
Tip
The eLxr Server image performs an automatic installation if you do not select an option quickly. Once the options are available, use the UP or DOWN arrow keys to halt the timer.
Select the installation method.
On booting you will be presented with a menu with options.
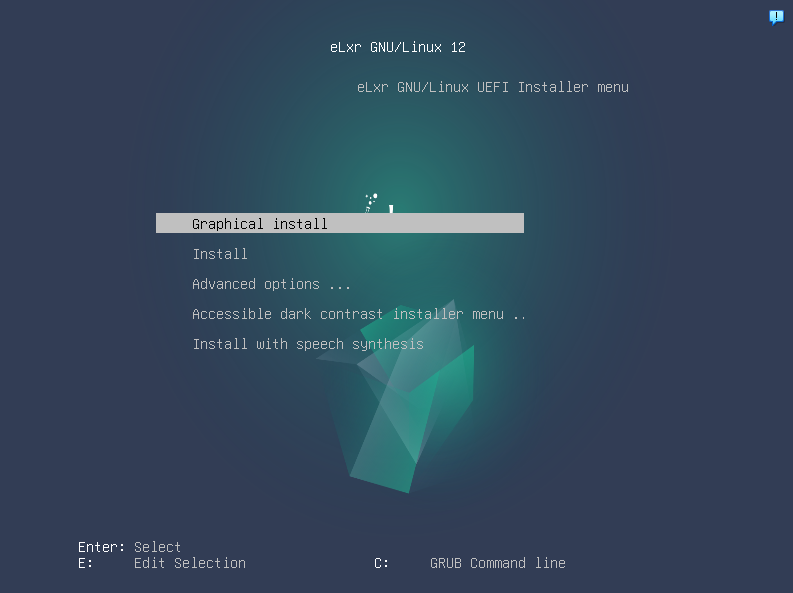
In this example we will use the Graphical Installer option.
There is also an option for setting some advanced options, but these should not be required when using the VMM to install into a QEMU/KVM virtual machine.
Other options offer help and installers with accessibility options which may assist those with vision impairments.
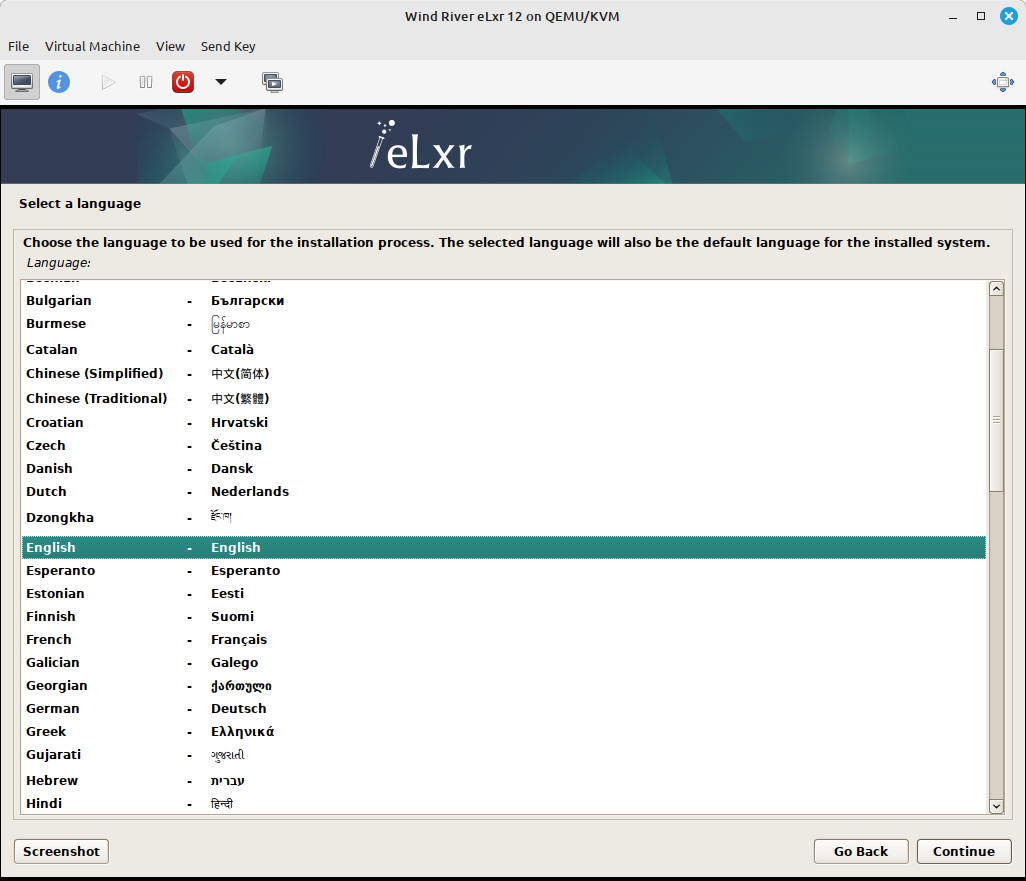
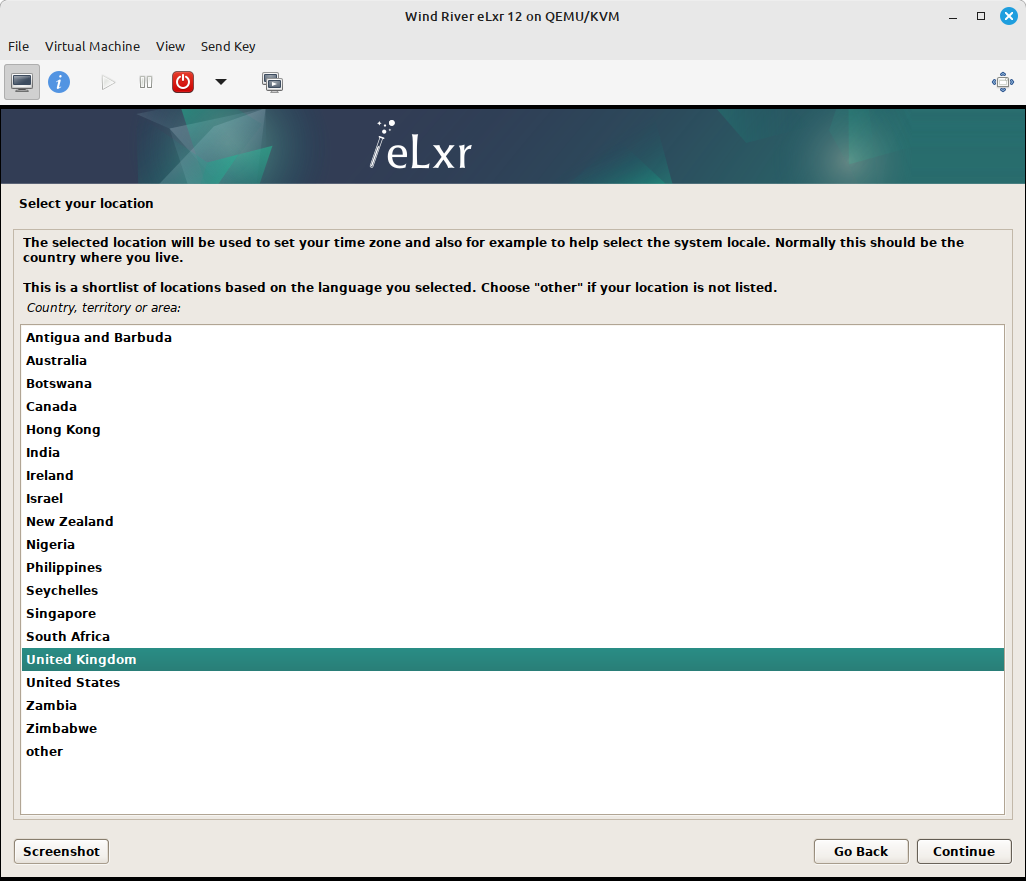
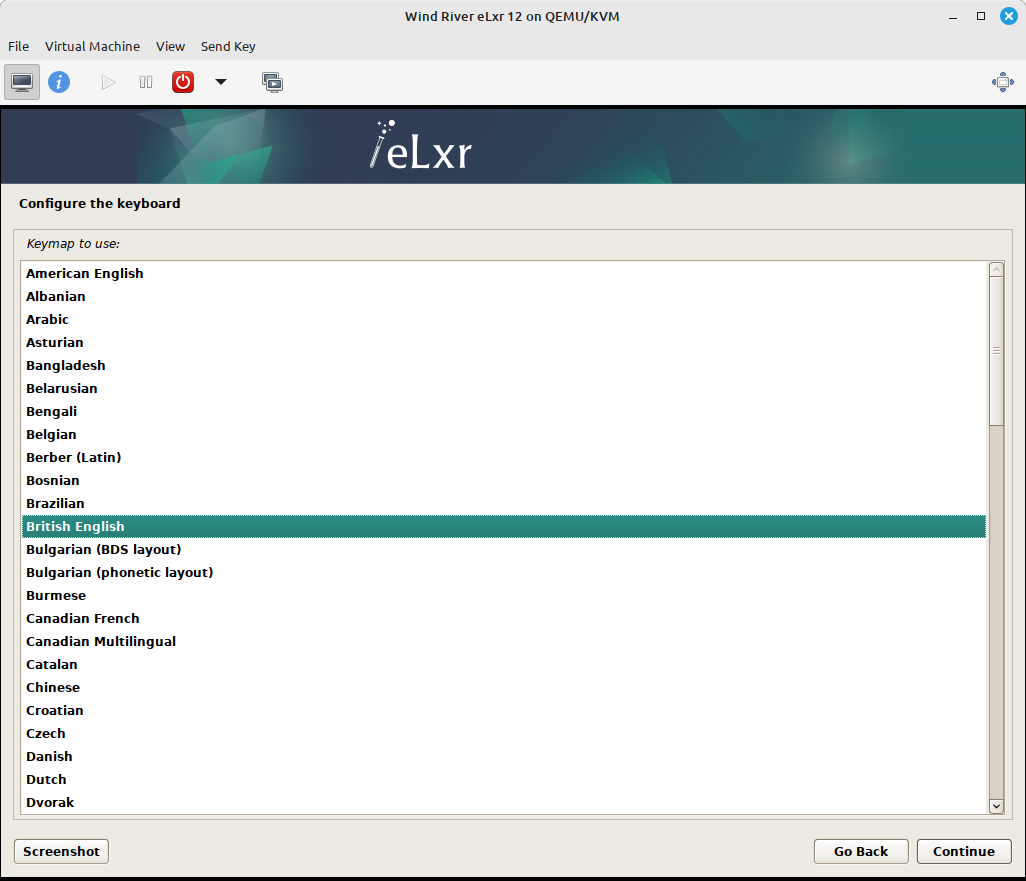
Select language and location options.
The first option presented by the graphical installer is to select the language:
Next, we need to set the location:
And then the keyboard layout:
Verify hardware selection process.
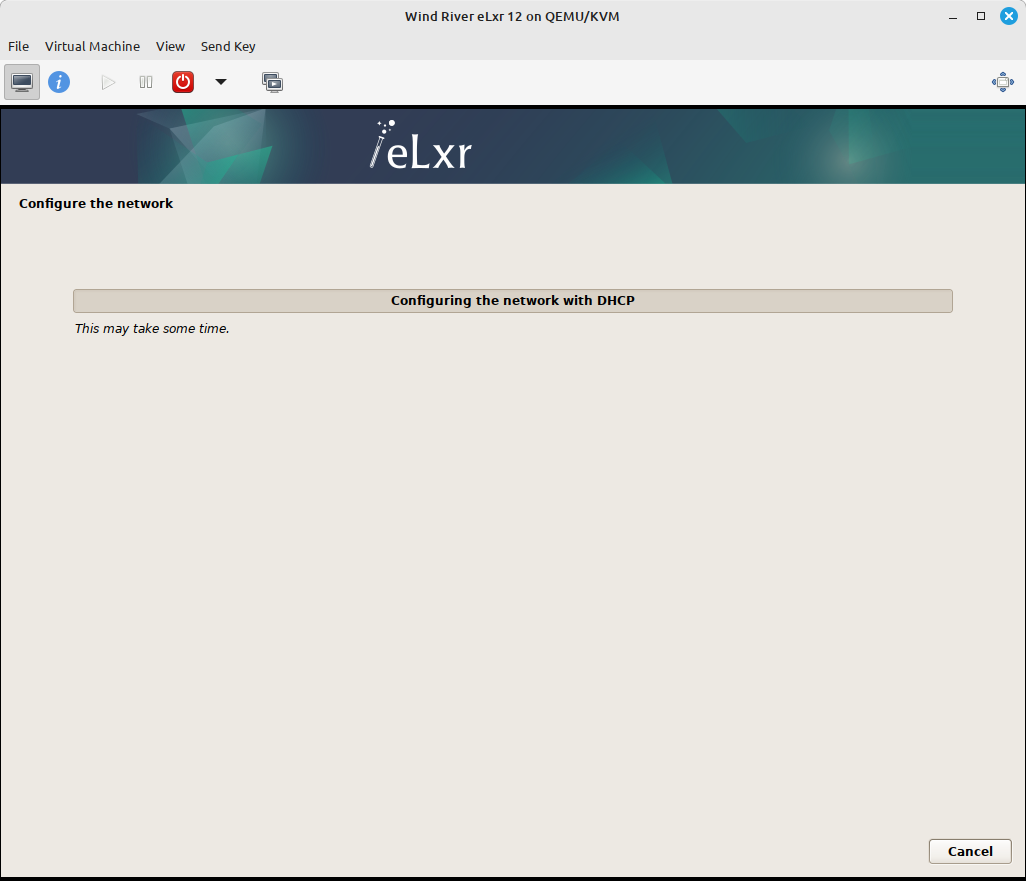
At this point the installer will run a number of tests to determine the hardware configuration of the machine.
Set the host name and domain for the virtual machine:
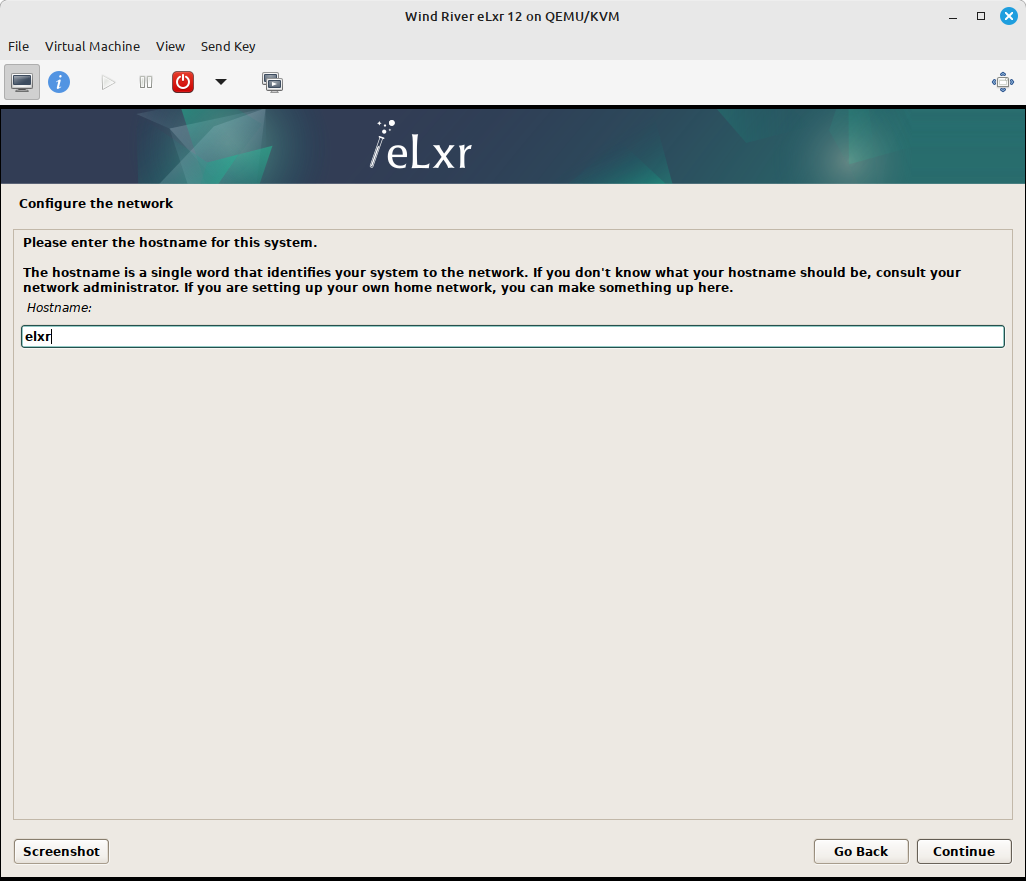
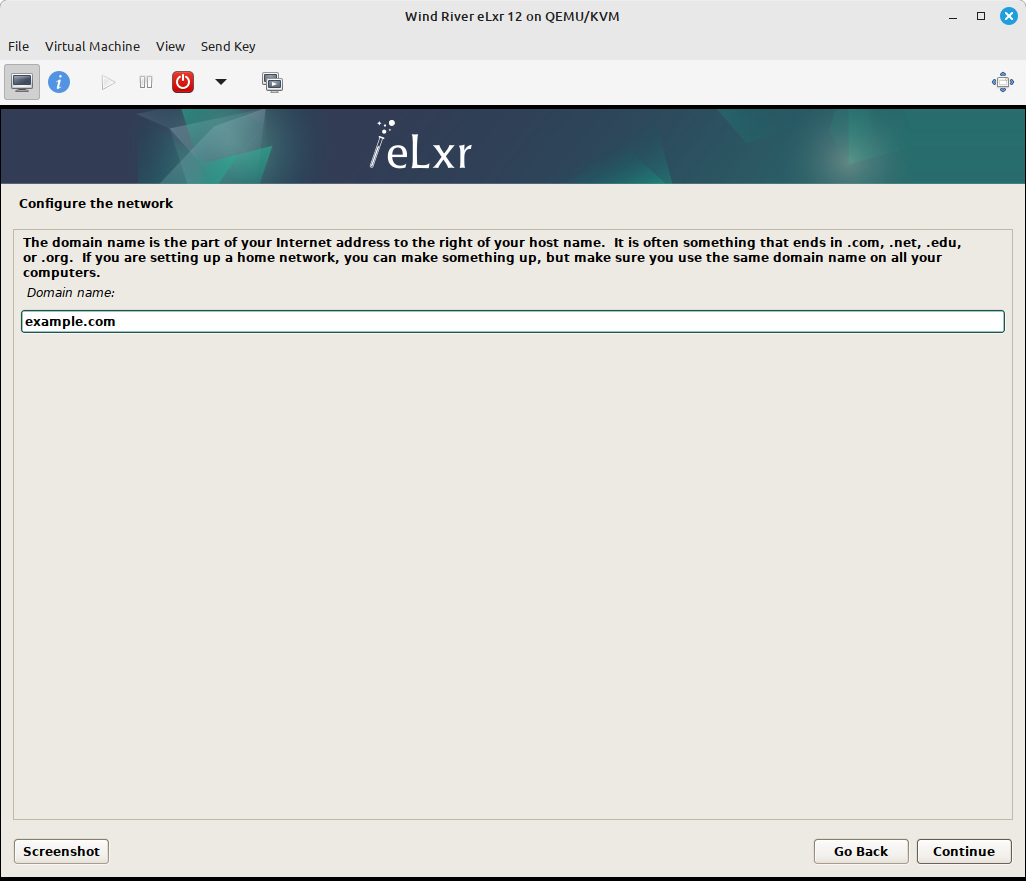
If the VM will appear on your local network then ensure you have a unique host name and that the domain matches the local network domain.
Set the time zone, then click Continue.
Set the root password and add users.
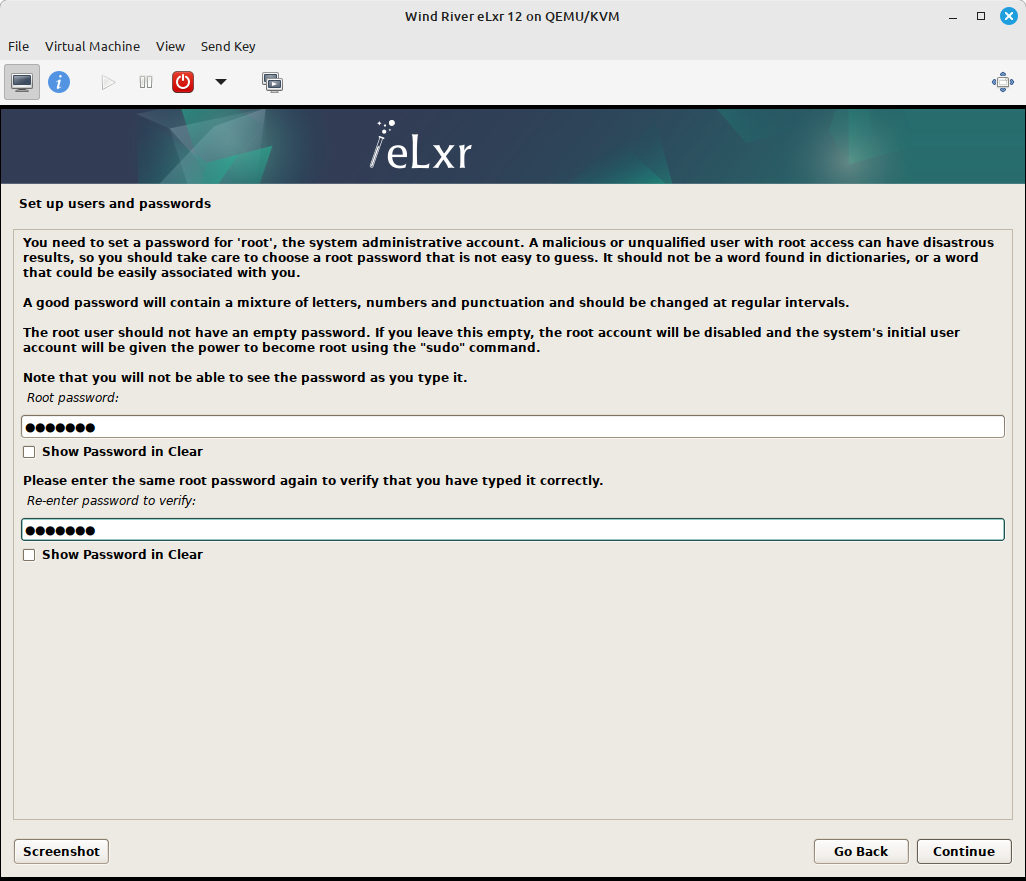
Optionally you can also create regular users and set their passwords too. It is recommended to have at least one non-root user.
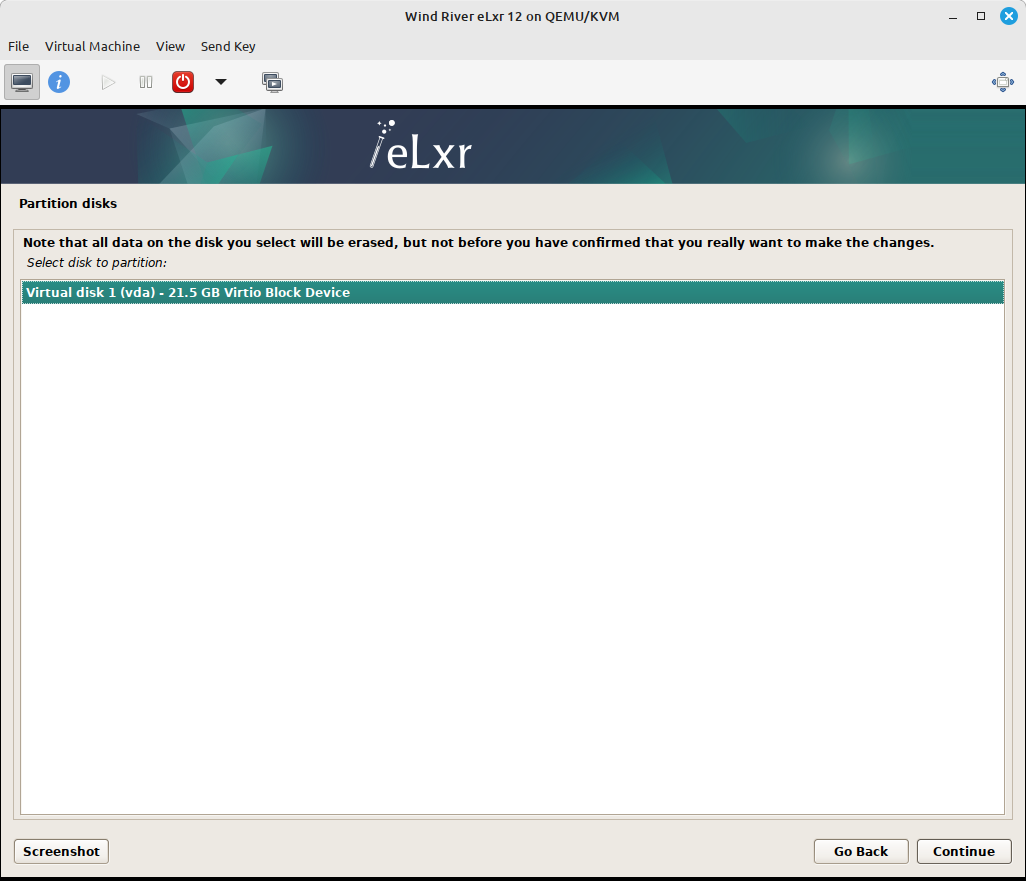
Set and verify hard disk partitions.
Prior to installing the OS the disk must be partitioned and formatted. The easiest method is to use the guided install as follows:

First select which disk to install into. Unless you have configured the VM with multiple disks you should find there is only one option, the virtual disk.
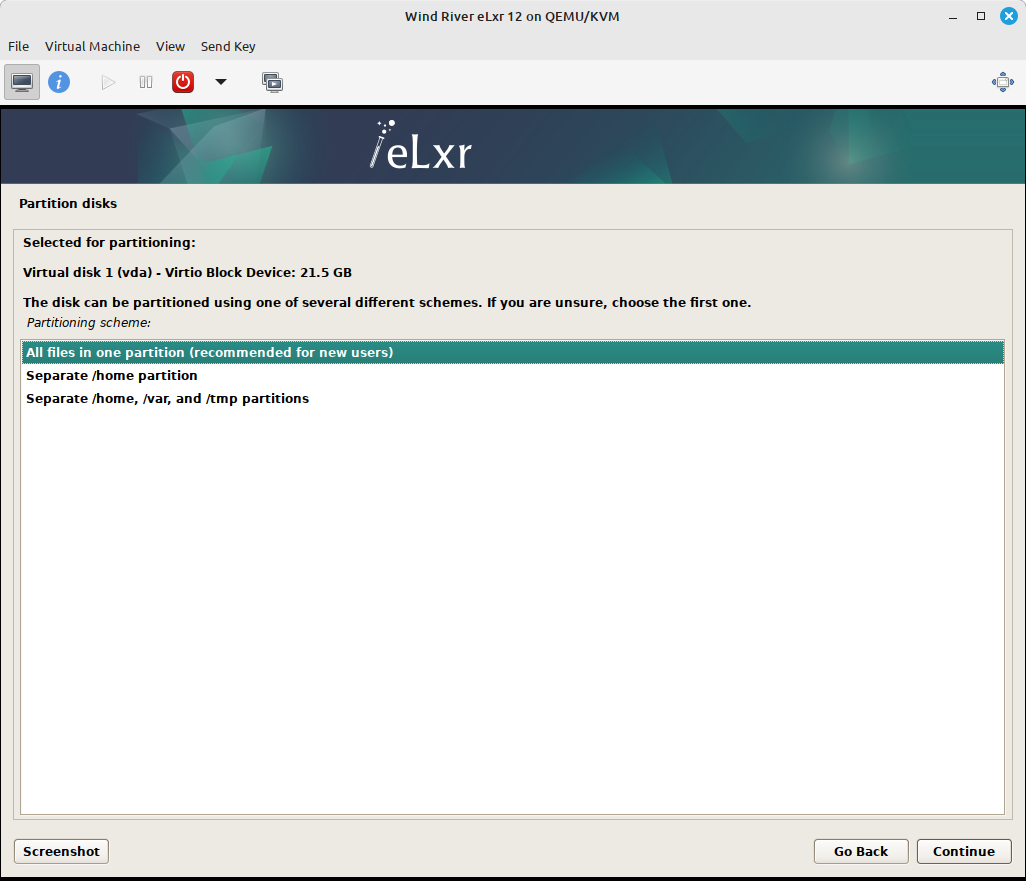
Several options for the partition layout are provided. Easiest is to install everything into a single partition.
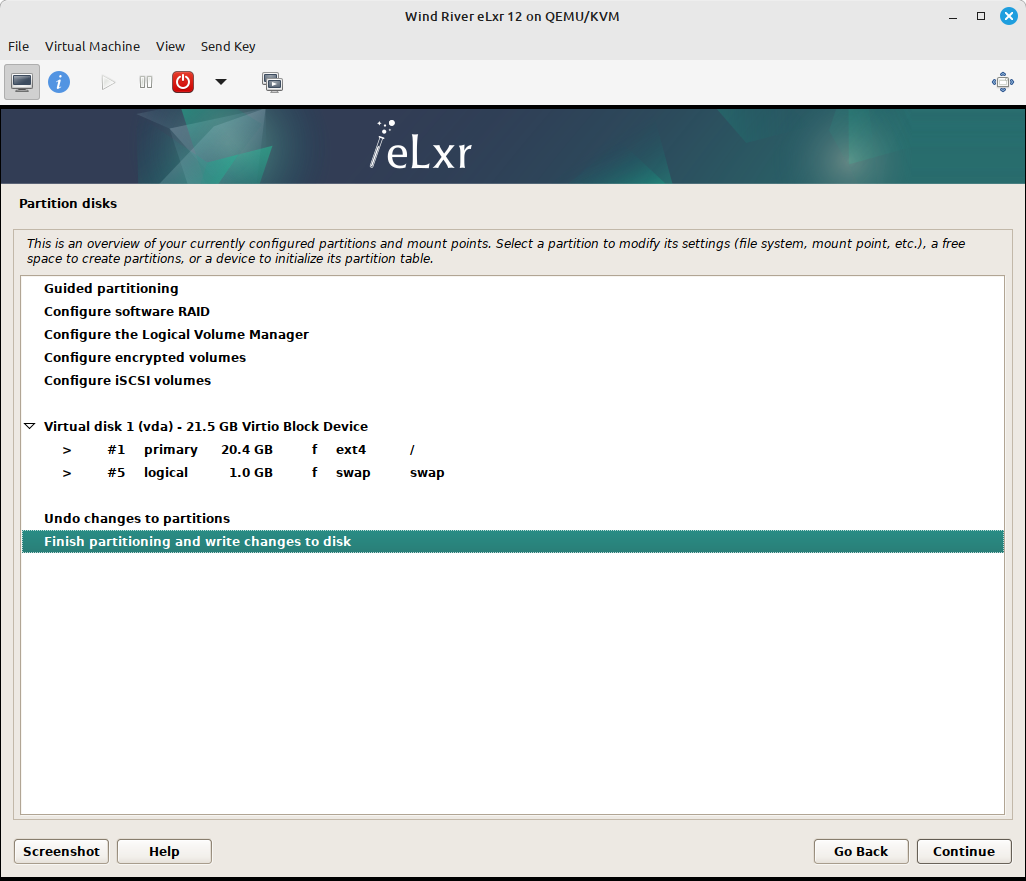
A summary displays before any changes are written to the disk.
A final confirmation is needed before the disk contents are modified. Select Yes and click Continue to partition and format the disk(s).
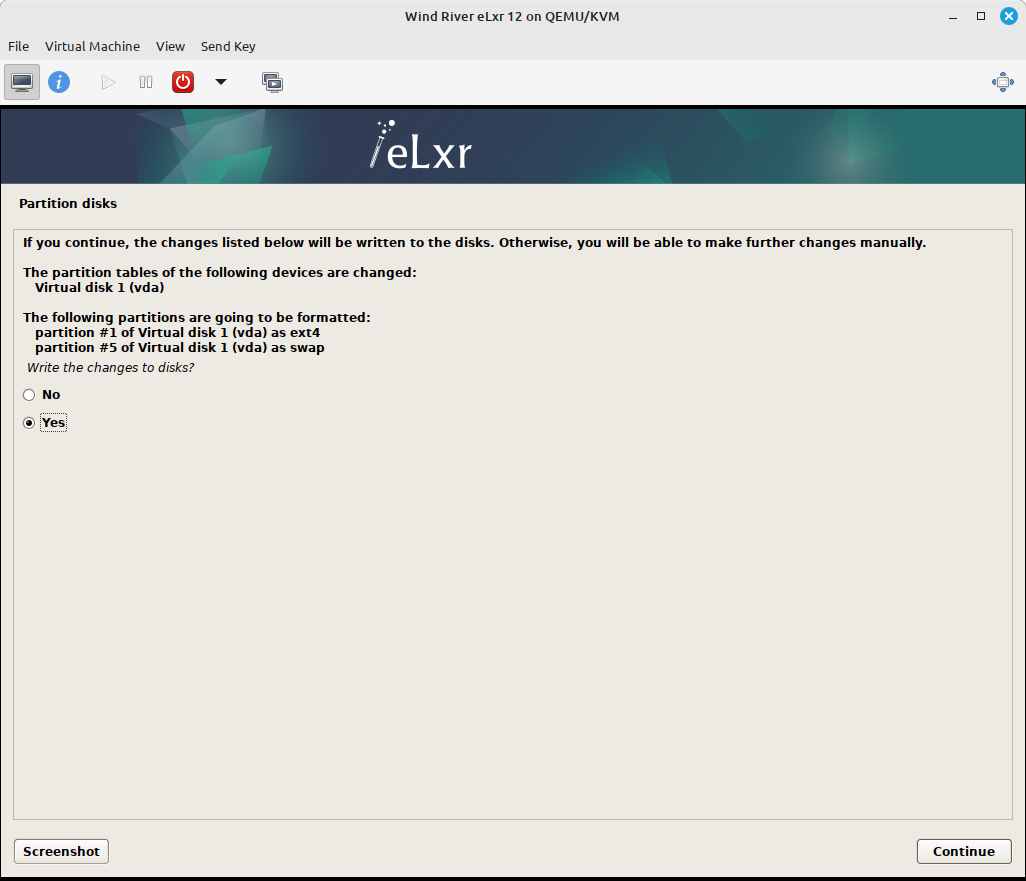
At this point the virtual disk is ready for installing eLxr.
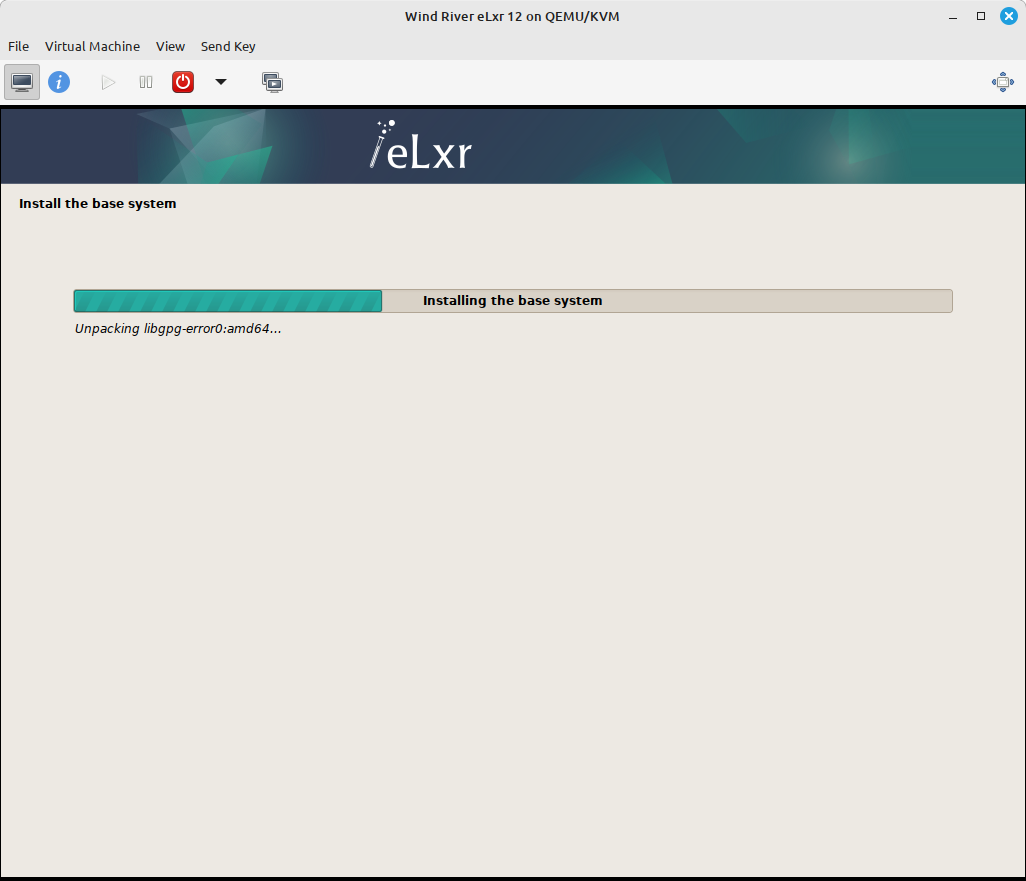
Install the base eLxr system.
The base system will now be installed into the newly partitioned disk.
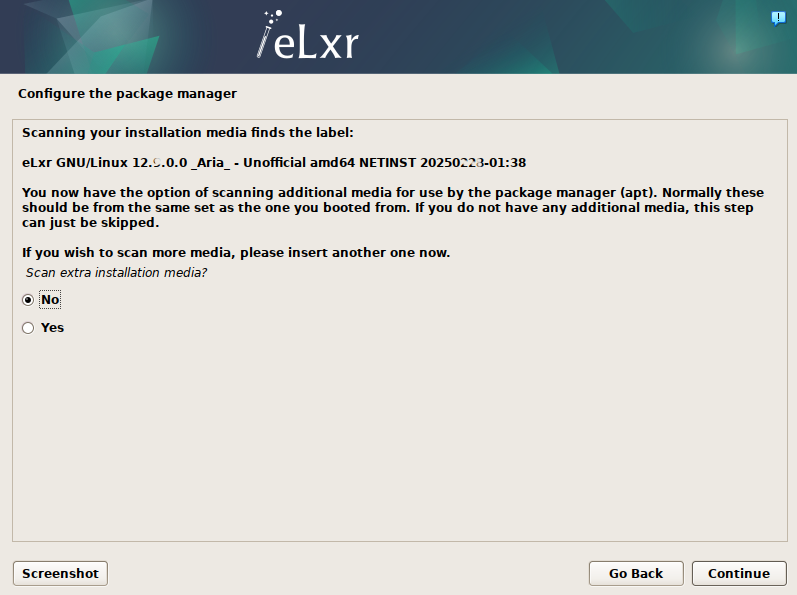
Choose whether you want to scan additional media to include in the APT Package Manager’s package sources. If you do not have any additional source repositories (default), select No, then click Continue.
If you require a HTTP proxy to access the Internet from your eLxr image, enter the proxy address and port information. If you do not require a proxy, leave the filed blank. Click Continue.

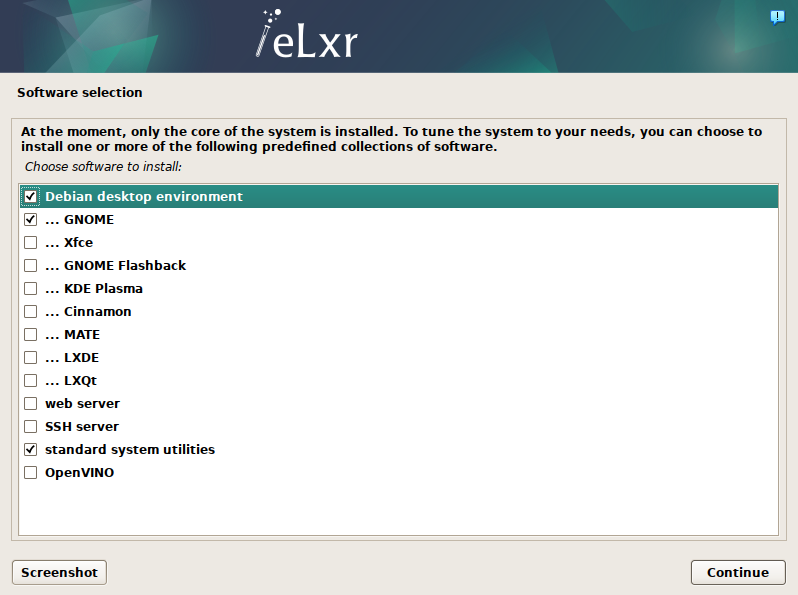
At the Software Selection window, choose any additional software options. By default, the installer selects Debian desktop environment, GNOME and standard system utilities. This installs the GNOME desktop with a standard set of utilities. To install a different window manager, deselect GNOME and select another from the available options.
Optionally select other software, then click Continue.
Note
If you select more than one desktop environment, a window will prompt you to choose a preferred window manager.
The installer will add the additional components and finish up.
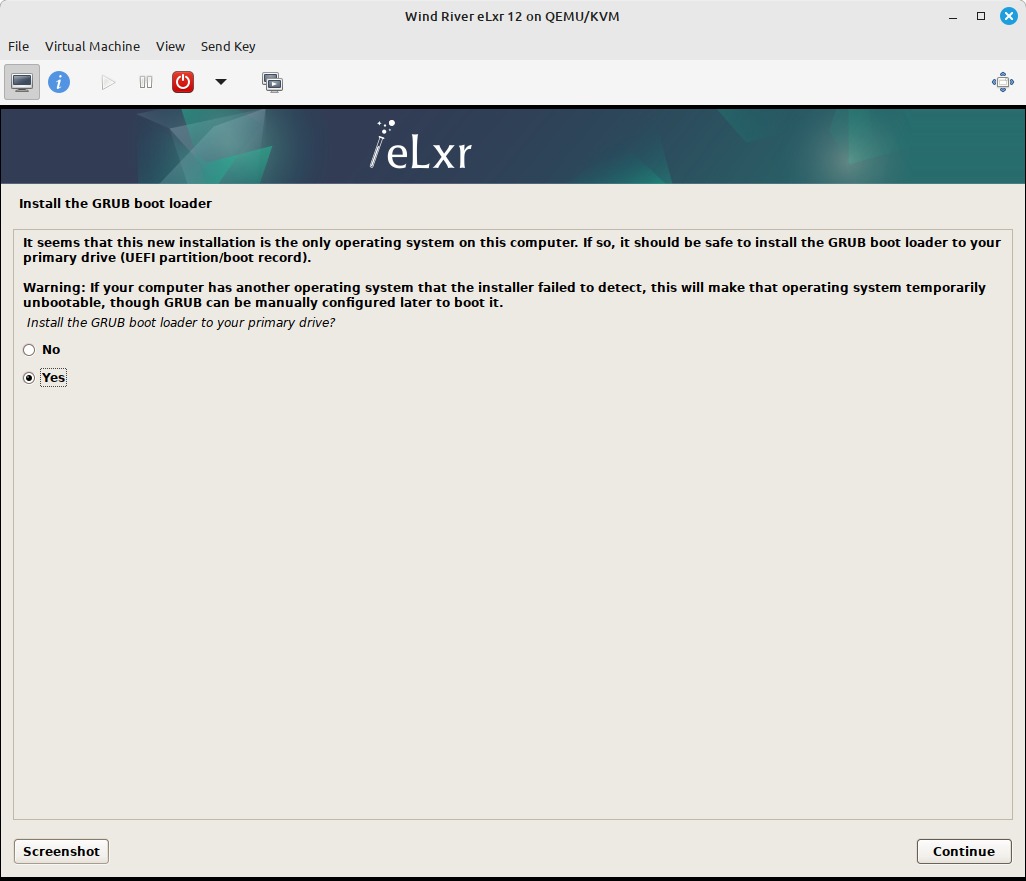
Install the boot loader.
eLxr uses the GRUB bootloader (GRand Unified Bootloader) to start the operating system upon boot.
First we must confirm that we want to install GRUB. Since there are no other operating systems in the virtual machine, select Yes and click Continue.
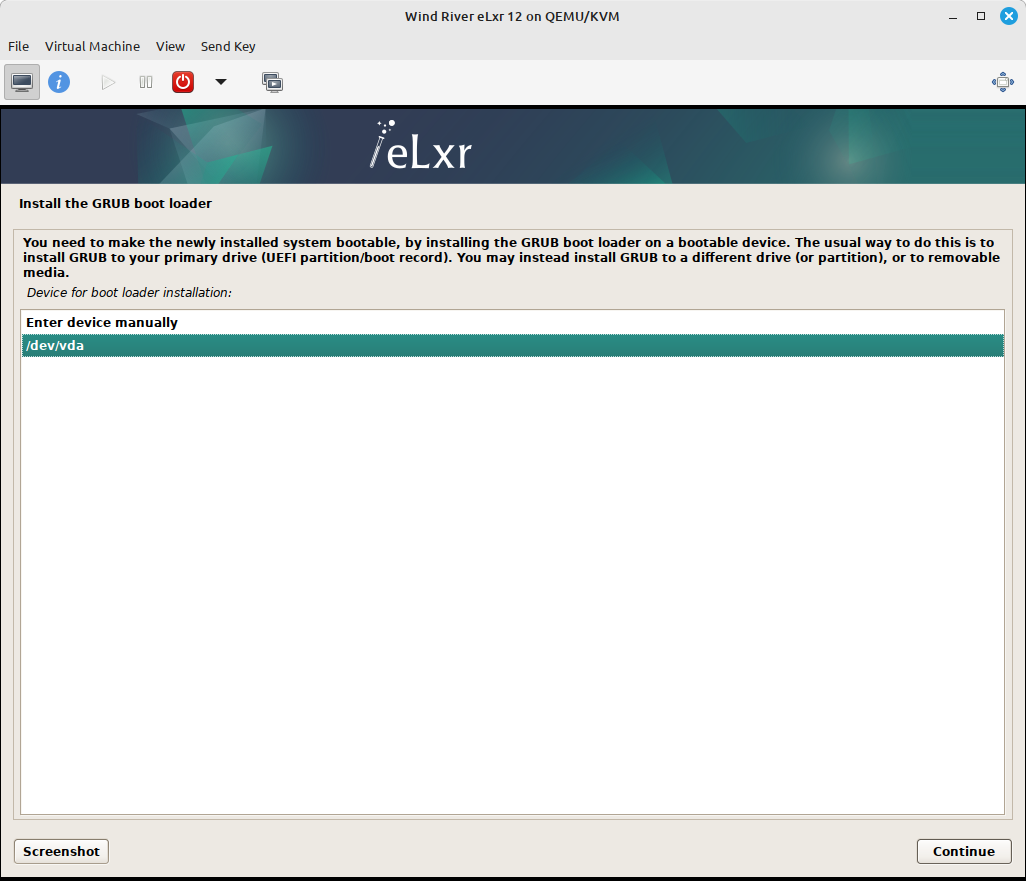
Then we select the disk it should be installed on. As with partitioning, there should be only one disk here unless you created multiple disks when setting up the virtual machine. In that case, select the first (vda) disk and click Continue.
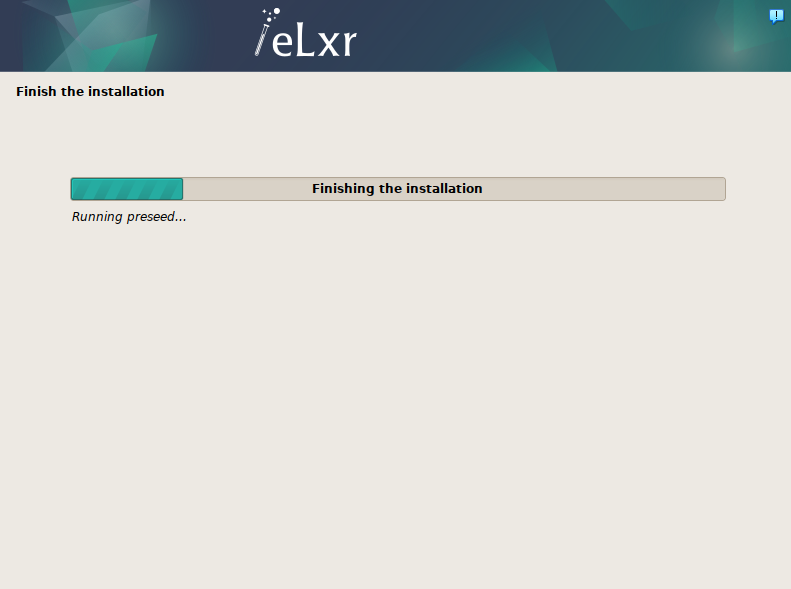
Complete the installation.
After installing GRUB the installer has some final setup to do:

Once finished, it will prompt to reboot the system into the fresh installation.
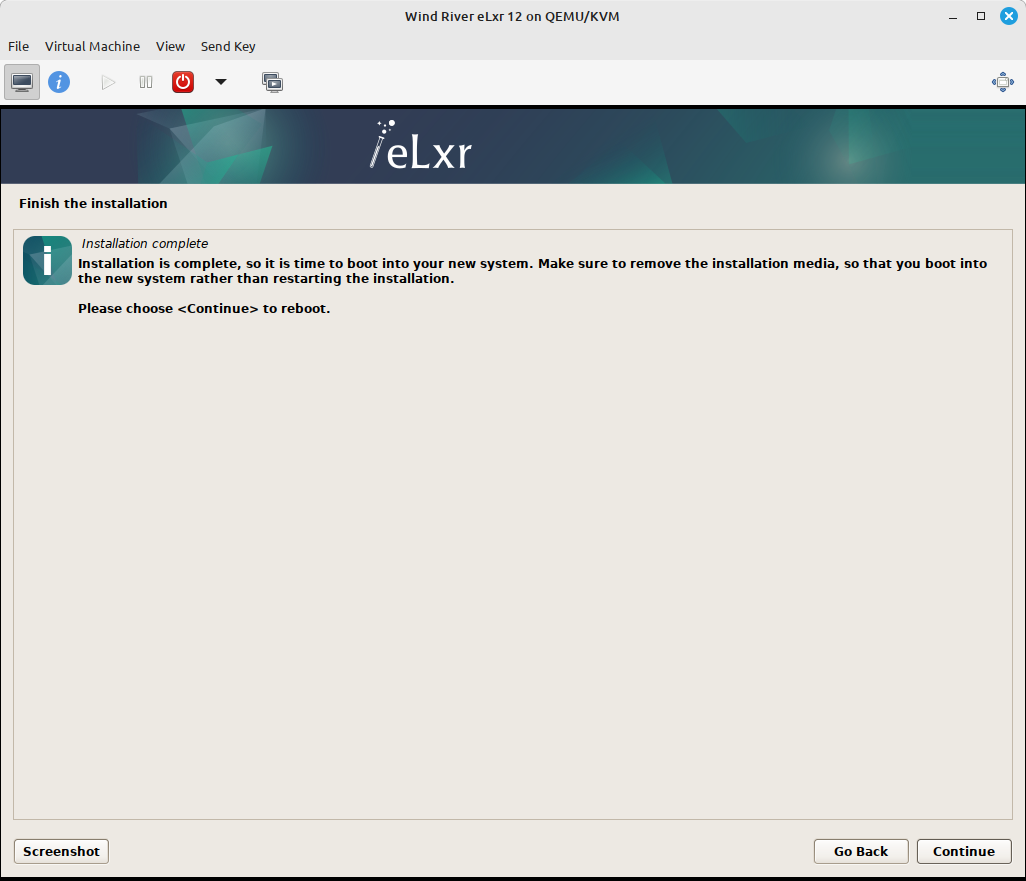
Click Continue.
On system restart, select the kernel option you want to use from the GRUB menu, either standard or rt (real time). You will only have a moment to make this selection.
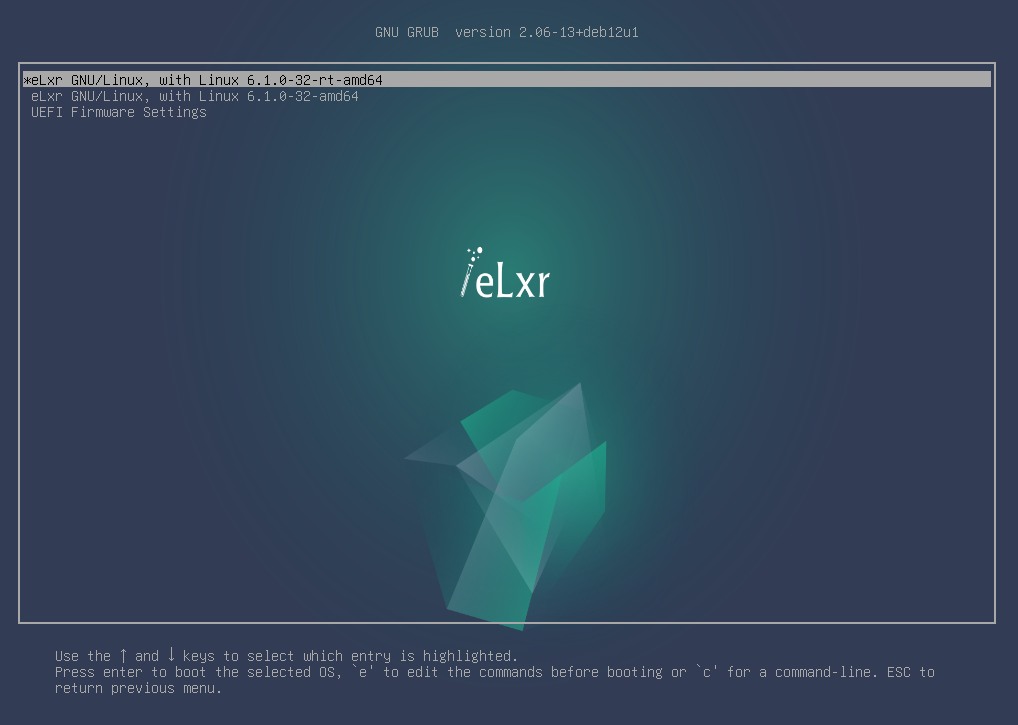
Important
The kernel option you choose will become the default for your system. Only choose the rt kernel if the system requires deterministic processing.
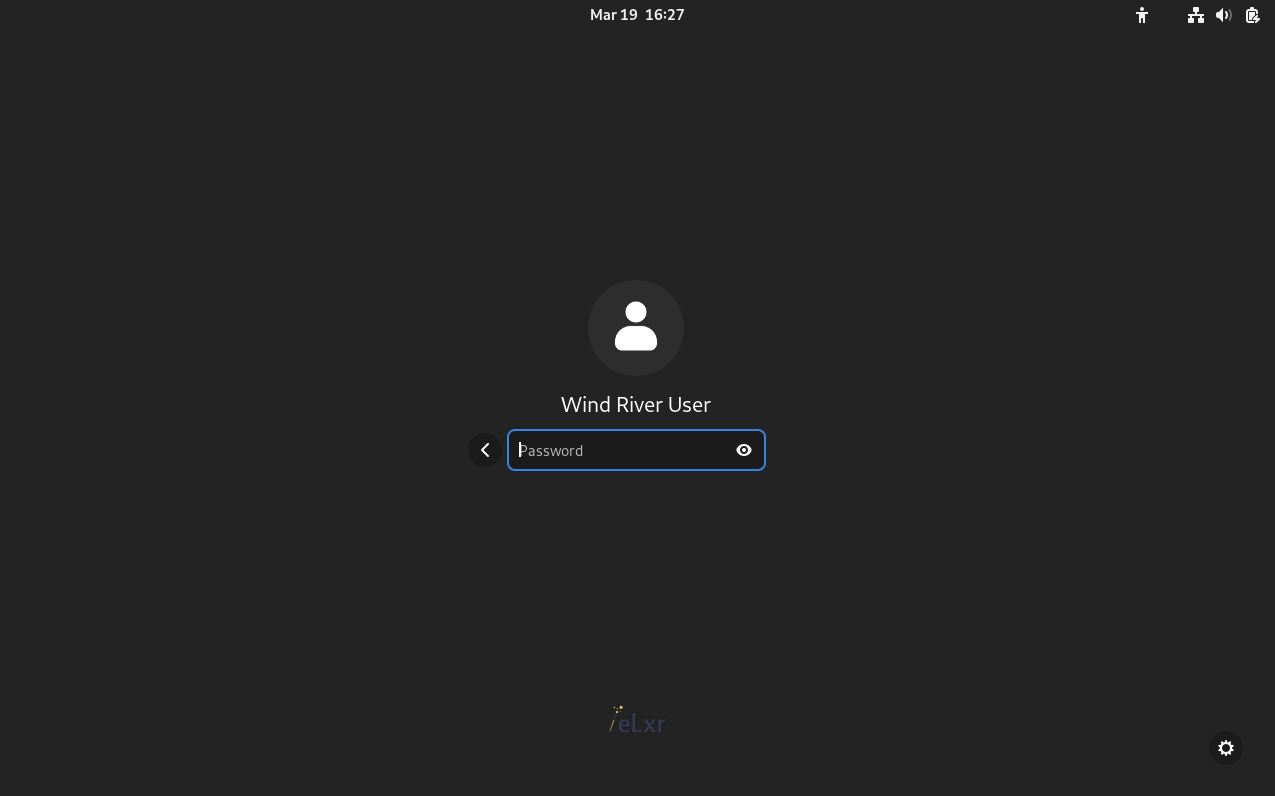
Log in to the eLxr image for the first time, either as root or as a user you created in step 5, above.
For console-based installations, log in from the terminal.
elxr-server login: root
Password:
Linux elxr12 6.1.0-40-amd64 #1 SMP PREEMPT_DYNAMIC eLxr
6.1.153 elxr5-1 (2025-12-03) x86_64 GNU/Linux

The programs included with the eLxr Linux system
are free software; the exact distribution terms
for each program are described in the individual
files in /usr/share/doc/*/copyright.

eLxr Linux comes with ABSOLUTELY NO WARRANTY,
to the extent permitted by applicable law.
For desktop installations, log in from the desktop manager login prompt, for example, GNOME:
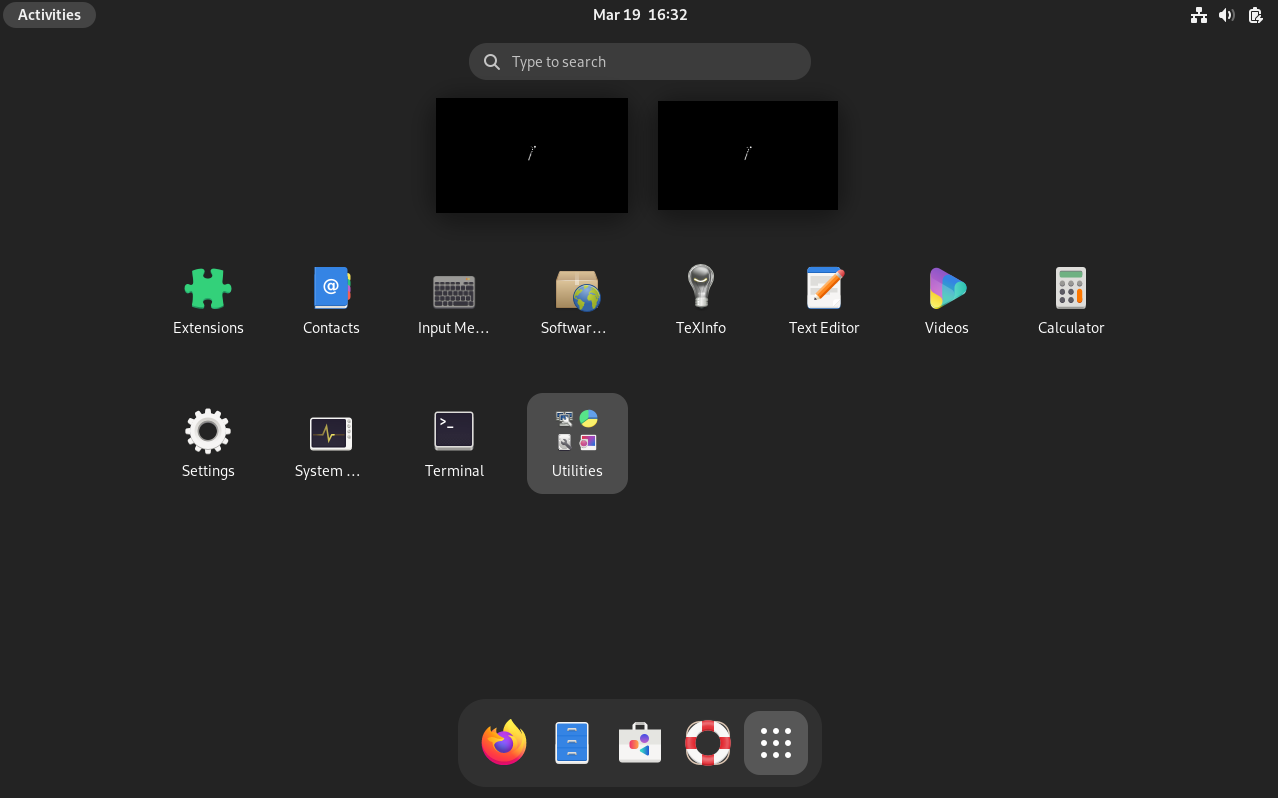
Follow the prompts to set language and other preferences for your new eLxr distribution. Optionally select the Applications icon to view available desktops and applications.
Optionally give sudo access to the user you created during the installation.
In a terminal, log in as root.
$ su root
Password:
Next, open a super user shell.
# su -
Add the user to the sudo group and exit the elevated prompt.
# usermod -aG sudo <username>
# exit
$
Log out and back in again to synchronize the new group settings.
Once you are done, you can power down the virtual machine. To simply power-off the virtual machine, run the following command from a terminal:
root@elxr:~# shutdown -h now
Results
Now that your eLxr 12 image is running with Hyper-V, you can install a package or packages from the eLxr 12 package repository. For details, see Adding and Updating Packages.