Developer Contribution Workflow
To make a contribution to the eLxr project, including code and documentation updates or enhancements, you will need to create a fork in the reposiory you want to make contributions to.
A fork is a personal copy of the repository and all its branches, which you create in a namespace of your choice. Make changes in your own fork and submit them through a merge request to the repository you do not have access to.
Before You Begin
You must have a GitLab account to create an issue. For details, see GitLab Account Setup.
You must have a GitLab issue for the repository you want to create your contribution for. For details, see Create an Issue for Your Contribution.
Procedure
Step 1: Create a Fork
To fork an existing project in GitLab:
Navigate to the project repository on GitLab.
Click Fork at the top-right to create your own copy of the repository.
Step 2: Clone the Fork
Clone with SSH when you want to authenticate only one time.
Authenticate with GitLab by following the instructions in the SSH documentation.
On the left sidebar, select Search or go to and find the project you want to clone.
On the project’s overview page, in the upper-right corner, select Code, then copy the URL for Clone with SSH.
Open a terminal and go to the directory where you want to clone the files. Git automatically creates a folder with the repository name and downloads the files there.
Run this command:
$ git clone <copied URL>
To view the files, go to the new directory:
$ cd <new directory>
Step 3: Create a Branch
Always create a new branch for your work. To create a branch, run this command:
$ git checkout -b <branchName>
GitLab enforces branch naming rules to prevent problems, and provides branch naming patterns to streamline merge request creation.
Step 4: Switch to a Branch
All work in Git is done in a branch. You can switch between branches to see the state of the files and work in that branch.
To switch to an existing branch:
$ git checkout <branchName>
For example, to change to the main branch:
$ git checkout main
Step 5: Make Your Changes
You can repeat these steps as many times as you want. All your changes are limited to your branch.
Implement the feature, bug fix, or task on this branch
Stage your changes and commit them with a clear message.
$ git add .
$ git commit -s -m "Describe your changes"
Push your branch to GitLab:
$ git push origin <branchName>
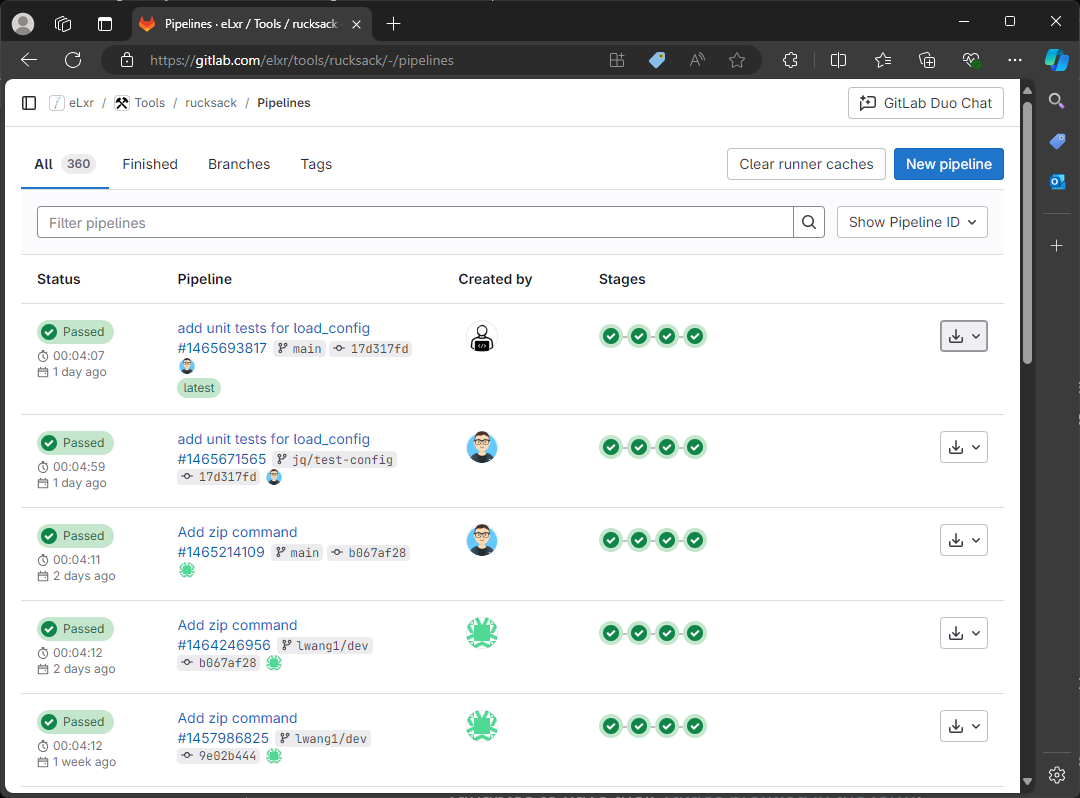
Step 6: Run the CI Pipeline to Test Your Changes
Pipelines and their component jobs and stages are defined in the CI/CD pipeline configuration file for each eLxr project. Pipelines can be manually executed, with predefined or manually-specified variables. You might do this if the results of a pipeline (for example, a code build) are required outside the standard operation of the pipeline.
Since you fork an eLxr project, you can only use GitLab-hosted runners. At this point you have full control over your fork. It will make use of the default GitLab runners.
To execute a pipeline manually:
On the left sidebar, select Search or go to and find your project.
Select Build > Pipelines.
Select New pipeline.
In the Run for branch name or tag field, select the branch or tag to run the pipeline for.
Enter any CI/CD variables required for the pipeline to run. You can set specific variables to have their values prefilled in the form.
Select Run pipeline. The pipeline now executes the jobs as configured.
Results
Once your contribution is complete and verified by running the pipeline, you must create a merge request to add it to the eLxr project. For details, see Create a Merge Request (MR).